Firebase (Analytics and Push notifications)
In this section we're going to cover the requirements for adding Google Services support to your Apps. This is unfortunatly required for every app as the Android version cannot be built without these resources.
Before we start
On your computer open a temporary text document. This can be in Microsoft Word, Notepad, TextEdit (Mac), Pages (Mac) or other text editors or word processors. We're going to call this our temporary doc. (Although you can save it if you wish) We're going to copy various bits of information to and from this as we go through these steps. This will make life much easier for you and our support team (if you need to contact them).
One more thing..
Before you can enable push notifications you must have decided on and entered the App Package ID under Binary Requirements, on the app submission page. The submission page for your app is accessible once your app has been purchased. You can open it by selecting the submit icon next to your app on the My Apps (Main Page) of the Mobile Apps Dashboard.
- In examples below our App is called Bobby and the App Package ID will be com.dissue.bobby
- Make a note of the Package Id that you enter in your temporary doc. You will need it in the steps that follow.
- Also note that once everything is configured it is difficult to change the package id.
Let's do it
To enable push notifications for your app please log on to the 3D Issue apps dashboard and click on the Notifications icon on your app.
If an alert opens click ok to acknowledge it then proceed to click the settings option in the left panel of the page. Copy the App Package ID into the doc.
The page that opens has a few options. We'll go through each option in turn.
Android
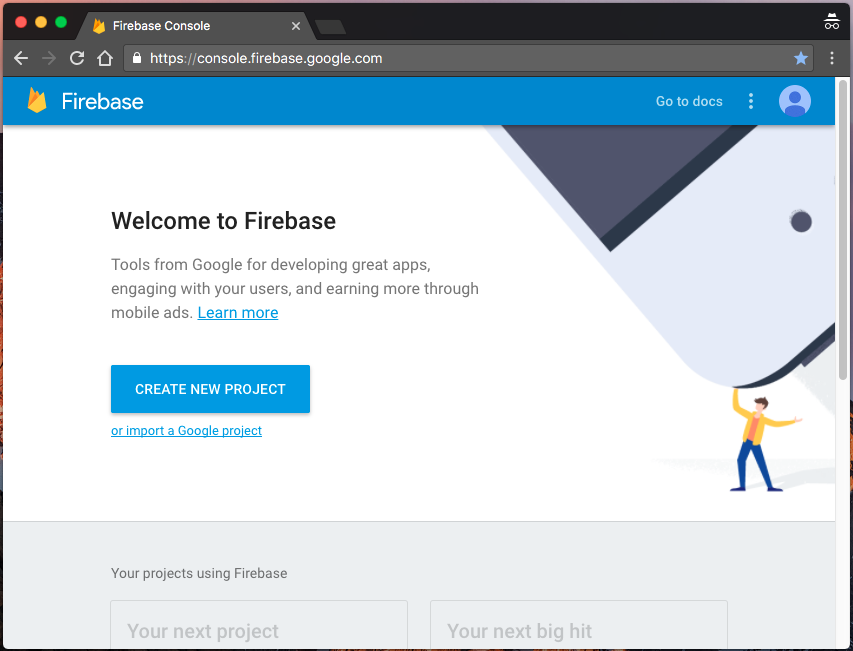
- We'll start by opening the Firebase console at: https://console.firebase.google.com/.
- On the page that opens you'll see a button "Create New Project", click that.
- In the popup that appears enter a name for your project, we usually use the app name, This doesn't need to match the name you entered in 3D Issue exactly. Then select your country or region.
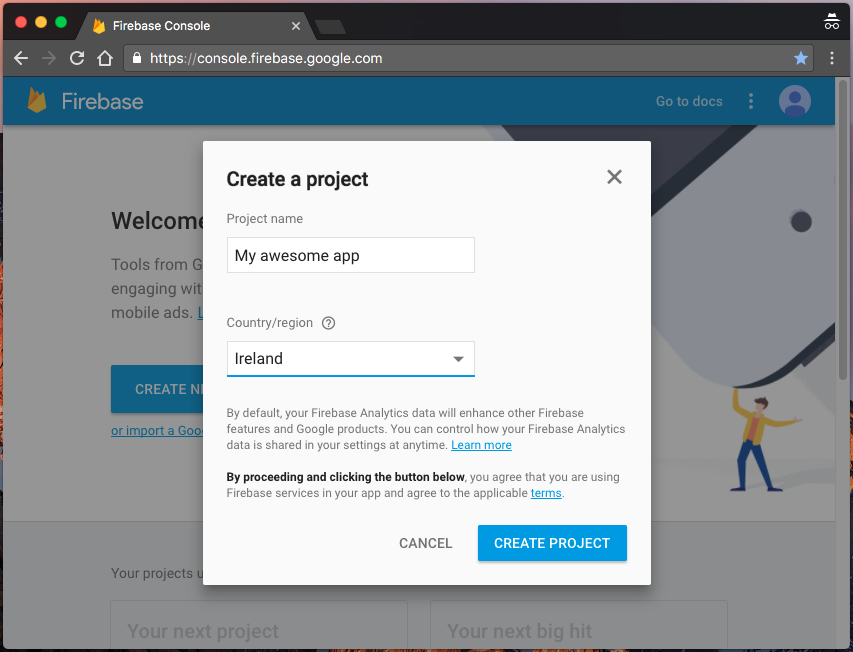
- Click "Create Project"
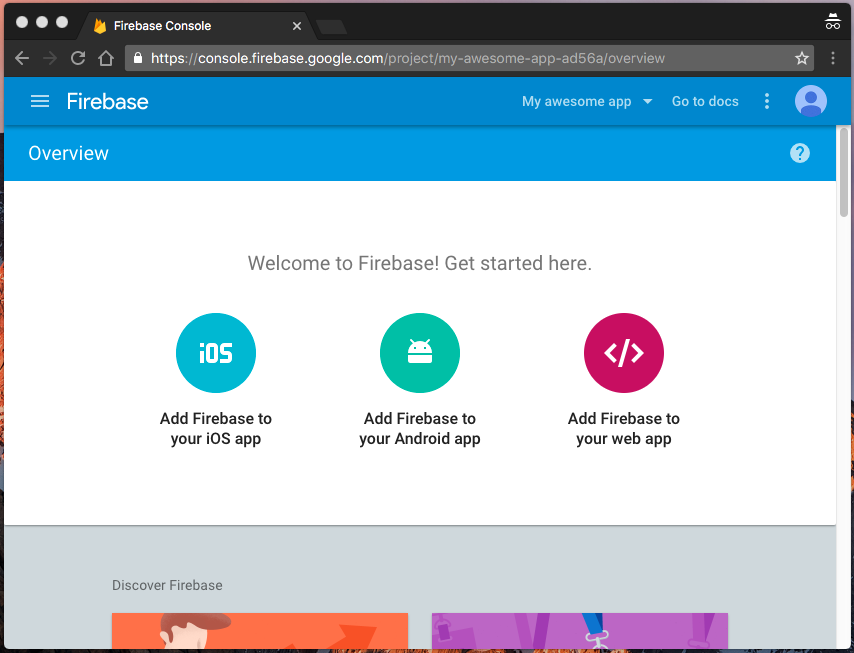
- Then select "Add Firebase to your Android App"
- Under Package name enter the App Package ID that you added to 3D Issue earlier. This must match exactly.
- You can skip the optional options, and click "Add App".
- On the next page, your browser will download the Google services json file. Click continue. Then click finish, don't worry about the instructions the page provides.
- The firebase console will then bring you to the overview page. This will now display your android app. Click the menu icon in the top right corner of the app's card and click manage.
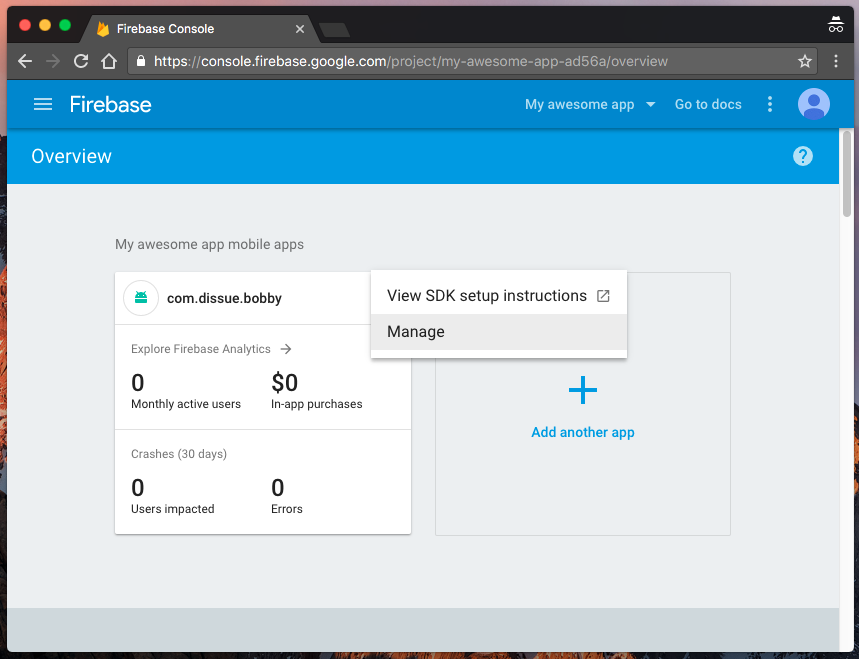
- In the window that opens select "Cloud messaging" from the tab bar.
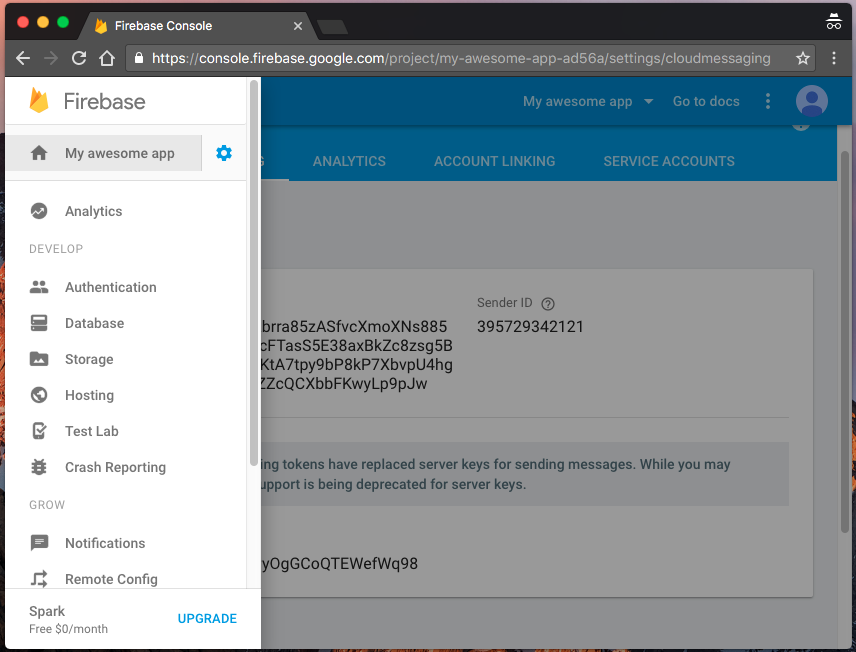
- In the page that opens note the "Sender Id" and "Server key" values.Copy these to the temporary doc.
- Jump back 3D Issue Apps dashboard. On your app open the push notifications section and go to the settings tab.
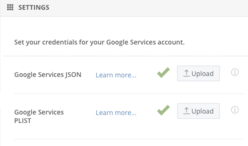
- Next we're going to upload the file we just downloaded. While still on the notifications setting page click upload beside "Google Services JSON"
- Select the file we downloaded and let it upload. If everything is ok a Green checkmark will appear beside the "Google Services JSON" option.
Server Key & Sender Id
While still on the page we can copy the values from Firebase into the Server API Key and Sender Id fields. Copy those from our temporary doc into 3D Issue. If the values are rejected please ensure that no additional spaces have been added to the start or end of the values when copying them from the doc. This is a common problem with some text editors.
Apple
This step is integrated tightly with many other things we need to create an app with Apple. Where appropriate we'll note where an item or value is dependant or used in another part of the App building process or submission. You'll also need a Mac for this.
- Go back to Firebase and go to the overview page of your app again. You can get there by using the menu in the top left corner of the page, then selecting your app name.
- Select "Add another app", then select iOS.
- In the iOS Bundle ID field paste your App Package Id from your temporary doc.
- Click "Add App"
- Your browser will download the GoogleServer-Info.plist file. Click Continue, then Continue again. Then Finish. Ignore all the instructions as we've already done the programming!
- You'll be brought back to the Overview page again. As before click on the menu icon in the right corner of your iOS app then select manage. Then select the cloud messaging tab along the top.
- Scroll down the page to the "iOS app configuration" section.
- You'll see that there are two Upload options available. We're going to create these items in the steps that follow. Development APNS Certificate, Production APNS Certificate
I suggest reading through these steps once before starting.
- Start by opening a new tab in your web browser. Ensure you don't close the page we just opened.
- In your new tab navigate to the following link and login using your Apple Developer Account details.
Apple Developer Account Identifiers
If your account is correctly configured and associated with a developer account you should be on a page Titled "Certificates, Identifiers & Profiles"
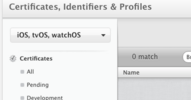
- Select the App Id of your app.
- Click "Edit"
- In the page that opens scroll down until you see "Push Notifications"
- If it is not checked already, Check the box beside "Push Notifications". The Status of it should change to "Configurable".
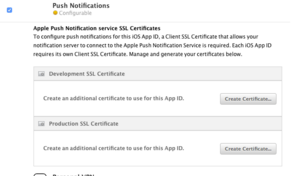
- Under Development SSL Certificate click "Create Certificate". On the next Page click "Continue"
- On your Mac you'll need to Open the Keychain Access Application. This can be found in the Utilities folder of Applications.
- In the App that opens select "login"from the keychains menu on the left.
- Now to to the "Keychain Access" menu in the top left corner of your screen. Mouse over the "Certificate Assistant" option then select "Request a Certificate from a certificate authority". If the option has "with " bla bla bla"" text after it then click some blank space in the keychain access app and try again.
- In the Window that opens Enter your email address for User Email Address.
- For the Common Name, copy in your App Package Id.
- Leave the CA Email Address blank.
- Under the "Request is" option select Saved to disk.
- Leave "Let me specify key pair information" unchecked.
- Click "Continue" When prompted to save, name the file "dev.certSigningRequest" or "prod.certSigningRequest" (Depending on which cert you are currently making) and save it to your desktop for now.
- Click Done.
- Now go back to your browser with Apple open and click "Choose File". Select the file you just created and upload it.
- Click Continue.
- On the next page click Download. Save the file to your desktop and call it "dev.cer" or "prod.cer" depending on which cert you are making.
- Click Done.
- Now navigate back to App Ids and select your App again and Click Edit.
- Scroll back to Push notifications and you'll see that the status now says Enabled. We are not done however as your app's notifications will still not function.
- Under "Production SSL Certificate" select "Create Certificate" Be sure to select this under Production and not under Development
- Repeat steps 8 to 20 Using Prod as the file's name instead of dev.
- Now with both certs created and downloaded double click both files from your desktop (the .cer files).
- This should open the "Keychain Access" app.
- Do a search in the top right corner of the app for your App Package ID.
- You should see several files. The types are listed in the "Kind" column. Two of each; Public Key, Private Key, Certificate
- Sort the files by Date Modified. This should group associated files.
- Select the First Private Key and First Certificate. Note the certificate's Name. If it is Similar to "Apple Push Services" then it is the production cert. If the name is similar to "Apple Development iOS Push", then it is the development cert.
- Right click and select "Export 2 items".
- In The filename / Save As Field call the file prod or dev depending on the certificates name like noted earlier.
- The File Format should be "Personal Information Exchange (.p12)"
- Save to your desktop. When prompted for a password use something you will remember, or make a note of it in your temporary doc.
- Then do the same for the second certificate and private key.
-
And that's the certs made!
- Going back to the Firebase Page in your web browser we need to upload the two files you just created. When prompted give Firebase the passwords you used when making the p12 files.
- The API Key and Sender Id listed on the page should match the Android Ids from earlier.
- Scroll down the page and click "Continue to Generate configuration files"
- Click Download GoogleService-Info.plist
- Now switch back to the Browser tab with 3D Issue open. And upload the file you just downloaded to the "Google Services PLIST" option.